Step-by-Step Antique Tractor Restoration | Vintage & Classic
The Step-by-Step Process of Antique Tractor Restoration
Restoring an antique tractor is more than a hobby—it’s a labor of love that connects us to our agricultural history and preserves valuable machines for future generations. Whether you’re working on a vintage tractor, a classic tractor, or even a John Deere that’s seen decades of farming, the restoration process requires patience, skill, and dedication.
This guide walks you through the key steps of restoring an old tractor, from inspecting its condition to applying the final coat of paint. Along the way, we’ll highlight the essential tools, systems, and techniques needed to bring a tractor back to its former glory.
Why Restore a Vintage Tractor?
There’s something truly special about restoring a vintage tractor. These machines carry decades of history, telling stories of families, farms, and communities. A classic tractor isn’t just functional—it represents the evolution of agriculture and the dedication of those who worked the land.
By carefully restoring these machines, you not only ensure smooth operation for today but also preserve these treasures for future generations.
Step 1: Inspect the Tractor’s Condition
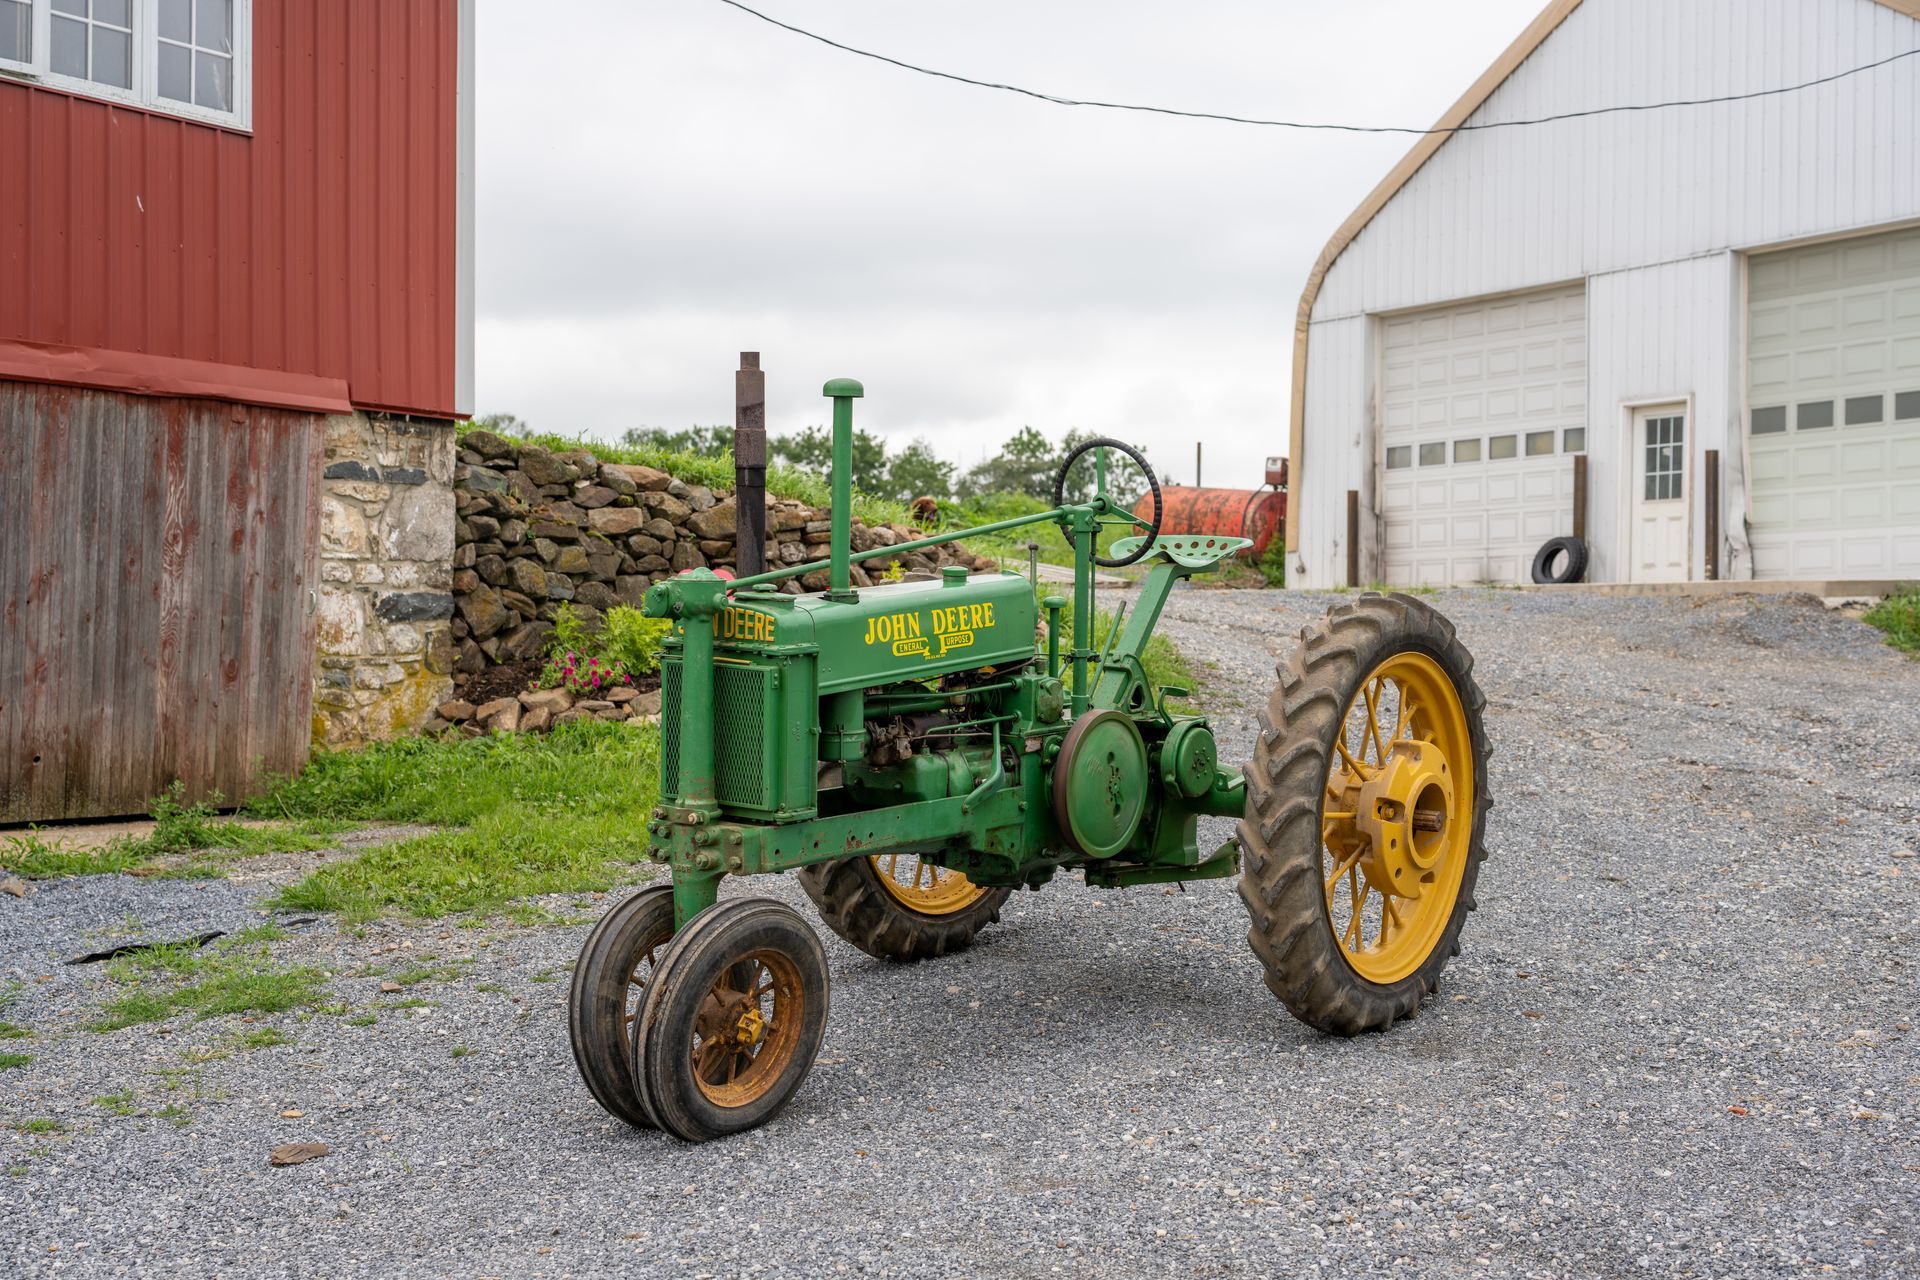
The first stage of the restoration process is a thorough inspection. You’ll want to carefully assess the tractor’s condition:
- Look for rust on the frame, body, and hood.
- Take note of broken or missing original parts.
- Examine the engine, wiring, and fuel systems.
- Inspect tires, bolts, and seals for wear.
Understanding the extent of repairs needed helps you plan effectively and account for both time and cost.
Step 2: Disassembly and Cleaning
Before you can rebuild, you need to strip the tractor down. Disassembly is often the most time-consuming stage, but it’s also crucial.
- Remove the hood, fenders, bolts, and panels.
- Keep track of all links and components for reassembly.
- Begin the deep cleaning process—removing grease, dirt, and grime that has built up over the years.
This step requires hard work, but a clean surface makes the rest of the process smoother.
Step 3: Engine and Mechanical Systems
The engine is the heart of any tractor, and restoring it is essential for functionality. Here are the key things to check:
- Replace worn gaskets, belts, and seals.
- Repair or fix cracks, leaks, or damage.
- Consider replacing the wiring to improve safety.
- Test the cooling, electrical, and hydraulic systems.
These mechanics determine whether your tractor will run with efficiency and smooth operation once the restoration is complete.
Step 4: Repairing or Replacing Parts
Not every part can be saved. Some may need repair, while others require replacing. For authenticity, try to use original parts wherever possible.
For example, many John Deere enthusiasts go to great lengths to source authentic parts to keep their vintage tractors true to their origins. This attention to detail preserves both value and character.
Step 5: Sanding, Rust Removal, and Surface Prep
A proper finish begins with excellent prep work. Here’s how to prepare the surfaces:
- Use sand blasting or sanding tools to remove old paint and heavy rust.
- Smooth out dents and surface imperfections.
- Clean again to remove remaining grime.
Skipping this stage means your final paint will never look as sharp or last as long. Proper prep ensures the quality of the final result.
Step 6: Painting the Tractor
Once the surfaces are clean and smooth, it’s time to paint. This is one of the most rewarding stages of the restoration process.
- Apply a primer coat to protect against rust.
- Spray multiple thin coats of high-quality paint.
- Finish with a clear topcoat for protection and gloss.
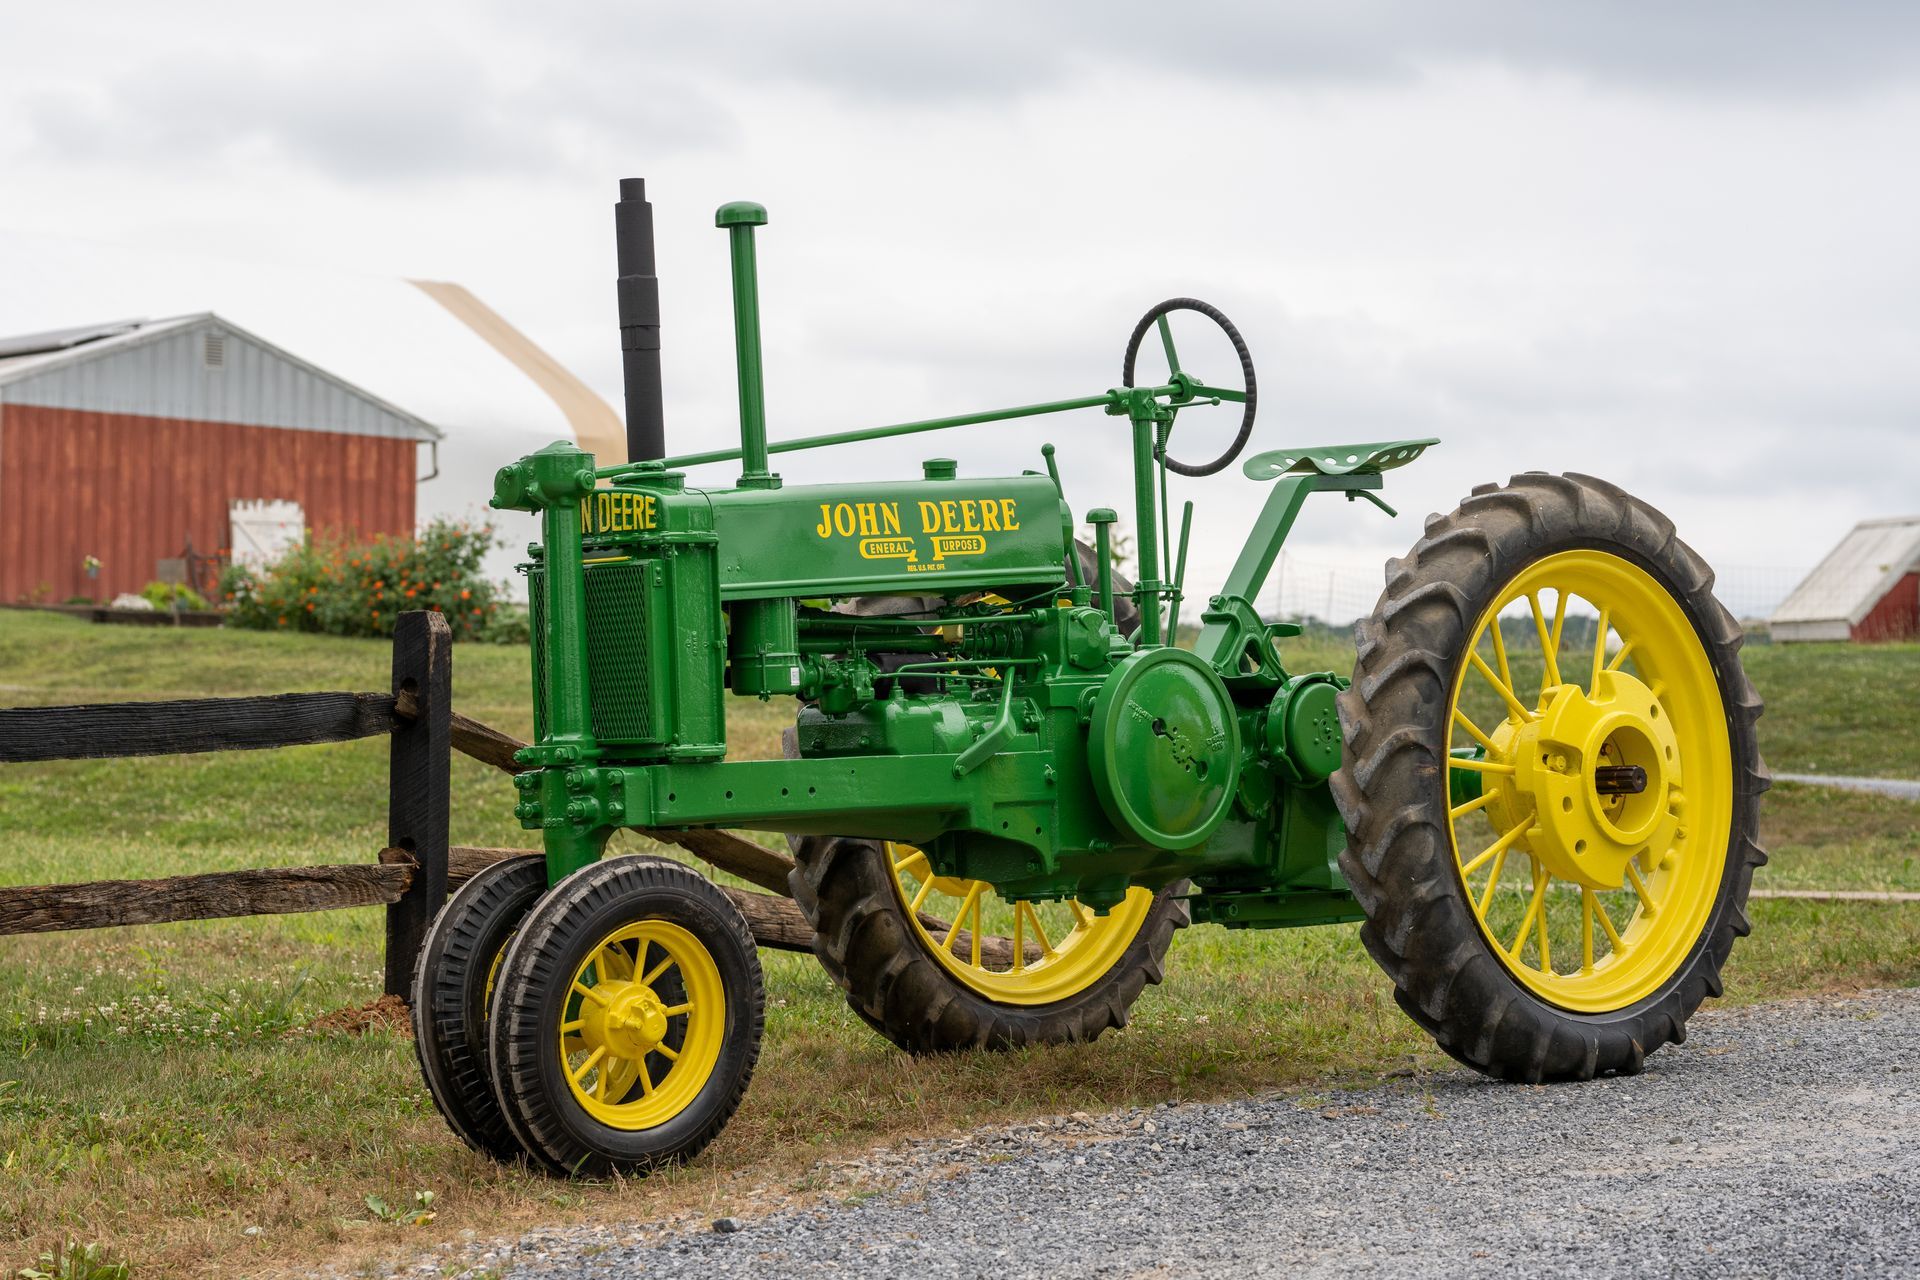
Color choice is important, especially if you’re restoring a John Deere, which is known for its signature green and yellow paint scheme. A carefully applied coat not only improves appearance but also helps protect the tractor from future wear.
Step 7: Tires, Decals, and Features
With the paint complete, it’s time to bring back the tractor’s identity:
- Replace or restore tires for safe use.
- Apply authentic decals to match the original design.
- Reinstall the hood, panels, and finishing features.
This stage transforms the project from a machine under repair to a restored classic tractor ready for display or work.
Step 8: Reassembly and Testing
With painting and detailing complete, reassemble all the parts carefully:
- Secure everything with fresh bolts.
- Double-check systems like brakes, hydraulics, and electrical.
- Perform a test run to confirm the tractor is functional and safe.
This stage ensures that your restoration is more than cosmetic—it’s practical and reliable, with smooth operation.
Step 9: The Final Review
Before calling the project complete, perform a final review:
- Inspect the paint for consistency and shine.
- Check the engine and mechanics for performance.
- Ensure the tractor meets both functional and aesthetic goals.
This final process step guarantees you’ve achieved the quality and authenticity you aimed for.
The Value of Tractor Restoration
The rewards of restoring a vintage tractor or classic tractor extend beyond the immediate project:
- You preserve an important piece of farming and agriculture history.
- You create a machine that can be admired by future generations.
- You reconnect with the hard work and craftsmanship of earlier eras.
Most importantly, a well-restored tractor brings pride to its owner and keeps the spirit of farming alive.
The step-by-step process of antique tractor restoration takes patience, skill, and dedication. From the initial inspection to the final coat of paint, every stage is essential in bringing an old tractor back to its former glory.
By focusing on quality, respecting agricultural history, and paying attention to every detail, you’ll not only restore functionality but also create a lasting tribute to the life and legacy of farming equipment.
Details
FAQs
How long does it take to restore an antique tractor?
The time depends on the tractor’s condition and the extent of the work. A full restoration can take weeks or even months, especially for detailed projects.
Do I need professional help to restore a tractor?
While some tasks like cleaning, sanding, and basic repairs can be DIY, complex engine work or sourcing original parts often requires professional support.
What’s the hardest part of restoring an old tractor?
Many restorers find sourcing authentic John Deere or other brand-specific parts to be the most crucial and challenging task.
Can a restored tractor be used for farming again?
Yes, as long as the engine and systems are properly repaired and tested, a restored tractor can return to functional use while still looking like a classic tractor.
How do I maintain a restored tractor?
Regular cleaning, proper storage, and routine checks on wiring, tires, and the engine will help maintain both performance and the quality paint finish for years.